
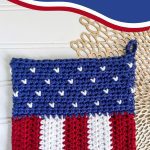
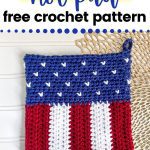
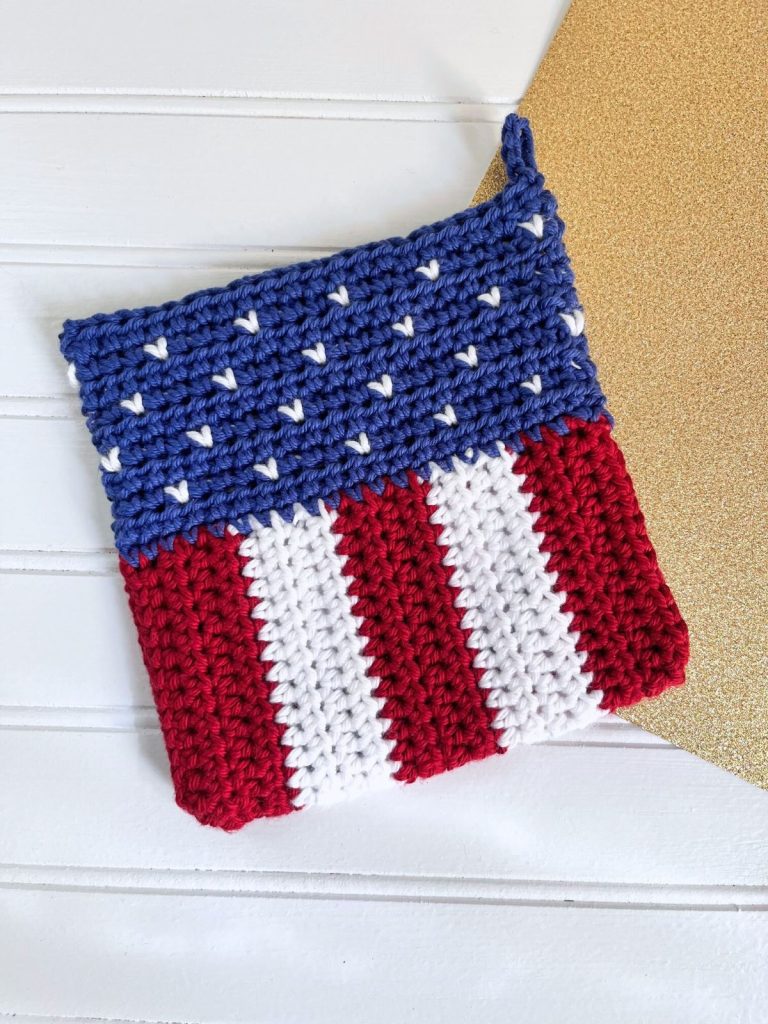
Get ready to add a touch of patriotic flair to your kitchen with this crochet pattern. Presenting the Red, White & Blue Hot Pad Pattern, an eye- catching hot pad for all crochet enthusiasts.
This pattern showcases the perfect balance of different crochet techniques. Crafted in vibrant shades of red, white, and blue, this hot pad will be a reliable kitchen essential.
Whether you’re hosting a Fourth of July barbecue or simply want to showcase your love for your country, this crochet hot pad will surely impress your guests. A handmade functional and stylish addition to any kitchen.
You’ll certainly have fun creating this patriotic hot pad with its red, white and blue colors.
So grab your hooks, choose your favorite cotton yarn, and let’s get started on this fun and rewarding crochet project.
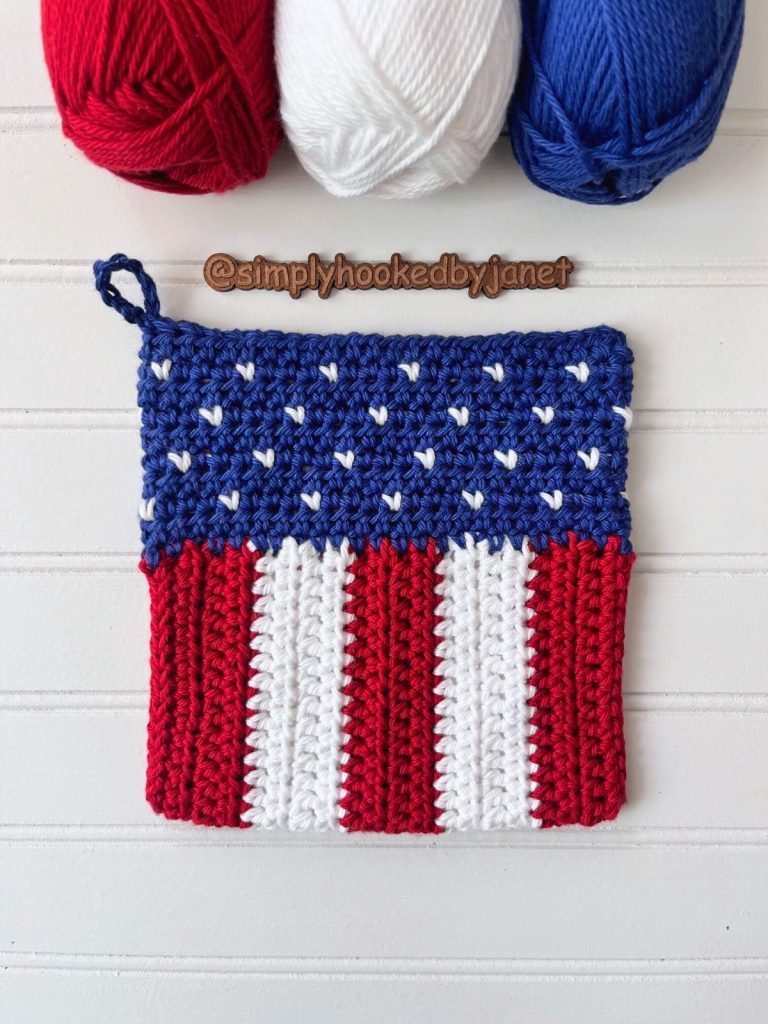
Materials needed for the hot pad
To create this stunning Red, White & Blue Hot Pad, you’ll need all of the staples for a crochet project. Crochet hook, yarn needle, scissors and yarn.
The choice of cotton yarn is crucial for this project as it provides the necessary absorbency and durability required for a hot pad.
Worsted weight cotton yarn is the perfect weight and texture to create a sturdy and functional hot pad. The vibrant shades of red, white, and blue will bring a patriotic touch to your kitchen decor.
It’s important to have a sharp pair of scissors on hand to neatly trim the yarn ends as you work, and a yarn needle will be used for a couple of seams as well as for weaving in the ends.
With these basic supplies, you’ll be well on your way to crafting your very own Red, White & Blue Hot Pad.
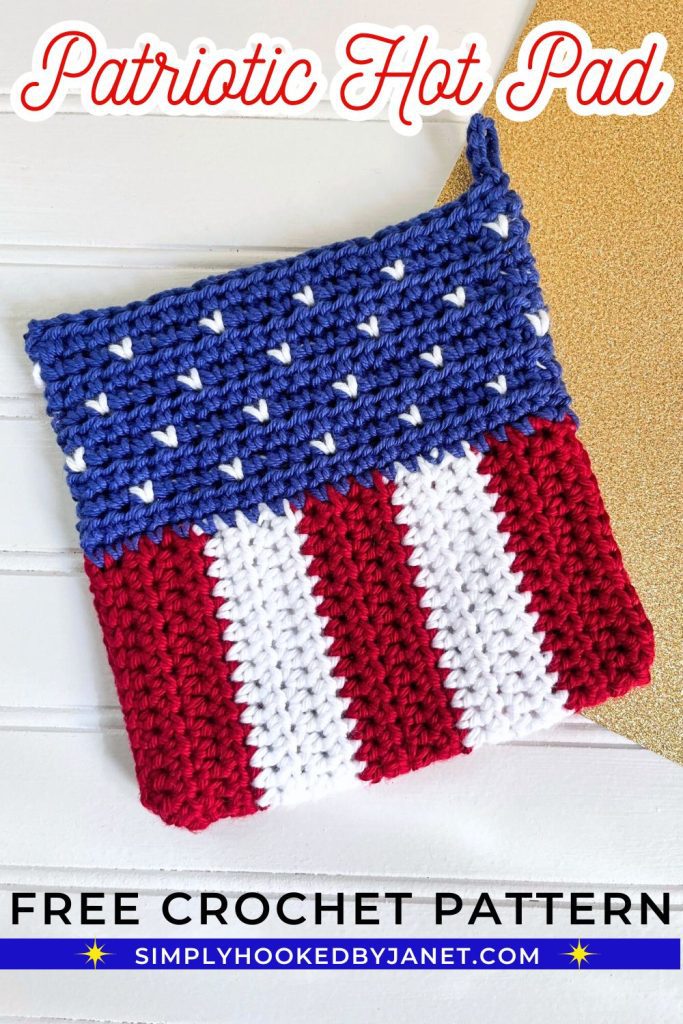
↓ Pin this pattern for later! ↓
Tips for choosing the right yarn colors
When it comes to creating the perfect Red, White & Blue Hot Pad, the choice of yarn colors is crucial. The combination of these three classic patriotic hues will make your hot pad stand out and showcase your love for your country.
I opted for the classic red, white and blue colors of the USA flag. Finding a cotton yarn line that actually had these 3 colors was trickier than I thought it would be.
I made 2 hot pad samples and had to use 3 different yarn brands. I used I Love This Cotton, WeCrochet/Knit Picks Dishie as well as KC Essential Cotton yarns.
It’s important to ensure that the yarn colors you select have a similar weight and texture to ensure a cohesive and uniform appearance throughout the hot pad.
Mixing different yarn weights or fibers can result in an uneven finished product. By carefully selecting your yarn colors, you’ll be well on your way to creating a stunning and eye-catching Red, White & Blue Hot Pad.
Common mistake to avoid while crocheting the hot pad
As you embark on your journey to create a Red, White & Blue Hot Pad, it’s important to be aware of some common mistakes so you can avoid them.
One of the most common mistakes is not maintaining consistent tension throughout the project. Inconsistent tension can lead to uneven stitches, causing the hot pad to have a wavy or distorted appearance. To avoid this, be sure to keep a steady tension on your yarn as you work, and avoid pulling too tightly or loosening your grip too much.
This pattern calls for 2 crochet hook sizes. This is because the blue section has a small amount of colorwork and naturally colorwork can cause tighter stitches. If you are a tight crocheter already then you may want to increase your hook size even more from what is stated for the blue star section.
It’s also important to be mindful of your color changes and carrying the yarn correctly. Improper color changes or tight tension can create unsightly spots on the project. Take the time to carefully work the color changes and carry the unused yarn neatly across the back of your work or under the stitches to maintain a clean, professional-looking finish.
Try these other red, white and blue and/or patriotic themed crochet patterns!
Materials:
- YARN:
- Yarn: #4 Worsted Weight – We Crochet Dishie or I Love This Cotton or suitable substitute, 35 yards Red (A), 30 yards White (B), 35 yards Blue (C)
- TOOLS:
- US Size (G/6) 4.0 mm and (G+/7) 4.5 mm crochet hooks
- Yarn Needle, Scissors, Blocking Materials
Size:
- 6.5 x 6.5”/16.5 x 16.5 cm
Gauge:
- 8 hdc x 7 rows = 2”/5 cm
Stitches/Abbreviations: US Terms
- ch – chain
- sl st – slip stitch
- sts – stitches
- sc – single crochet
- hdc – half double crochet
- Special Stitch: single crochet knit stitch (sc knit st) = insert hook in stitch, grab second color (B) and pull through, yarn over with first color (C), pull through both loops
Notes:
- The stripes are worked first in rows, folded in half and seamed on the sides.
- The blue section is worked in TURNED rounds.
- The inactive yarn in the blue section is carried throughout under the active yarn stitches. On rounds when B (white) is not needed, just carry the yarn up the seam to the next round.
- Do not pull the yarn too tight that is carried inside the stitches.
- Beginning ch 1 does not count as a stitch.
- When joining to complete a round, always join with a sl st to the first st in that round.
- When sharing on social media use the hashtag: #simplyhookedbyjanet
Considering purchasing the pdf of this pattern?
Use code GET1OFF on Ravelry to get $1 off a pattern purchase.

Instructions:
STRIPES – with the 4.0 mm crochet hook
With A, leave a 16”/40 cm tail, ch 31.
Row 1: Sc in 2nd ch from hook, sc in each ch across. turn. 30 sts
Rows 2-4: Ch 1, hdc in 1st, hdc in each across, turn.
When switching between A & B after every 4th row, do not fasten off, carry up the same side of work until needed next.
Rows 5-8 and 13-16: With B, repeat Row 2, fasten off B after Row 16.
Rows 9-12 and 17-19: With A, repeat Row 2.
Row 20: With A, ch 1, sc in 1st, sc in each across. Fasten off a 16”/40 cm tail.
SIDE SEAMS
Fold the stripes in half so they are vertical. Make sure the side where the yarn is carried is facing the inside. With a yarn needle, seam each side closed using the whip stitch.
STARS – with the 4.5mm crochet hook or larger if you tend to have tight tension.
The sc knit sts in this section will be worked in color B (white). Make sure to keep tension loose when making them.
With right side out, attach C (blue) to one of the side seams at the top opening.
Round 1: Ch 1, work sc sts around by placing 10 sc along the first and last red stripe, 5 sc along each white stripe and 4 sc along the center red strips, join, TURN. 48 sts.
Round 2: Ch 1, hdc in 1st (make sure you do not work into the join sl st after turning here and throughout), hdc in each st around, join, TURN.
Round 3: Ch 1, sc in 1st, sc knit st in next, *sc 3, sc knit st in next; repeat from * around until 2 sts remain, sc in remaining, join, TURN. 12 sc knit sts, 36 sc
Round 4: Ch 1, hdc in 1st, hdc in each st around, join, TURN.
Round 5: Ch 1, sc in 1st, sc 2, sc knit st in next, *sc 3, sc knit st in next; repeat from * around, join, TURN.
Round 6-9: Repeat Rounds 2-5.
Round 10: Repeat Round 2. Continue to Hanging Loop.
HANGING LOOP
Ch 9, join to same st. Fasten off a 20”/51 cm tail. Weave in remaining ends to the inside of the hot pad.
CLOSING TOP
With a yarn needle, whip stitch closed the top of the hot pad. Fasten off and weave in end.
